
If you’re one of the many thousands of S&W M&P Shield 9mm owners, here’s a quick 50-round practice session to try at the range. This will work for pretty much any semi-auto, but it was designed specifically with the Shield in mind, and in this video I talk about working with some of the challenges specific to running the Shield. As always, you can scroll down to read the full transcript.
Hello, ladies and gentlemen. I am Chris from LuckyGunner.com where you can get all your favorite ammo with lighting fast shipping.
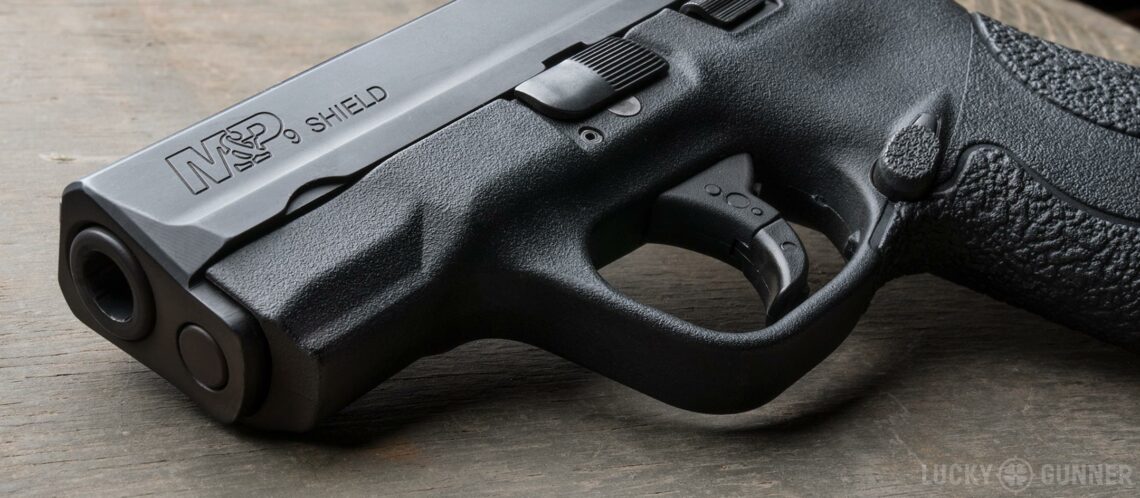
This is a Smith & Wesson M&P Shield 9mm. It is one of the most popular guns in the country — probably the most popular 9mm from the last few years. And it’s not a bad little pistol. It’s very lightweight, easy to carry, not too difficult to shoot for a gun of its size. It’s a single stack — it comes with one 7-round and one 8-round magazine. It wouldn’t be my first choice. It’s not my favorite gun and it’s not one I shoot particularly well, but it’s not bad. I understand the appeal. It’s a decent gun, especially for the price.
A few guys that I’ve talked to recently who are Shield owners are just now for the first time getting serious about improving their marksmanship ability and one of the issues they’ve run into is that a lot of the drills that we do are not really designed with small guns in mind (at least not small guns with a limited capacity). So they’re running into some issues there, and I thought I would put together a special practice session specifically for the Shield. Now, this will work with any gun that’s got at least a 7-round capacity, but I had the Shield in mind when I put it together and we’re going to talk about a few of the challenges specific to shooting the Shield.
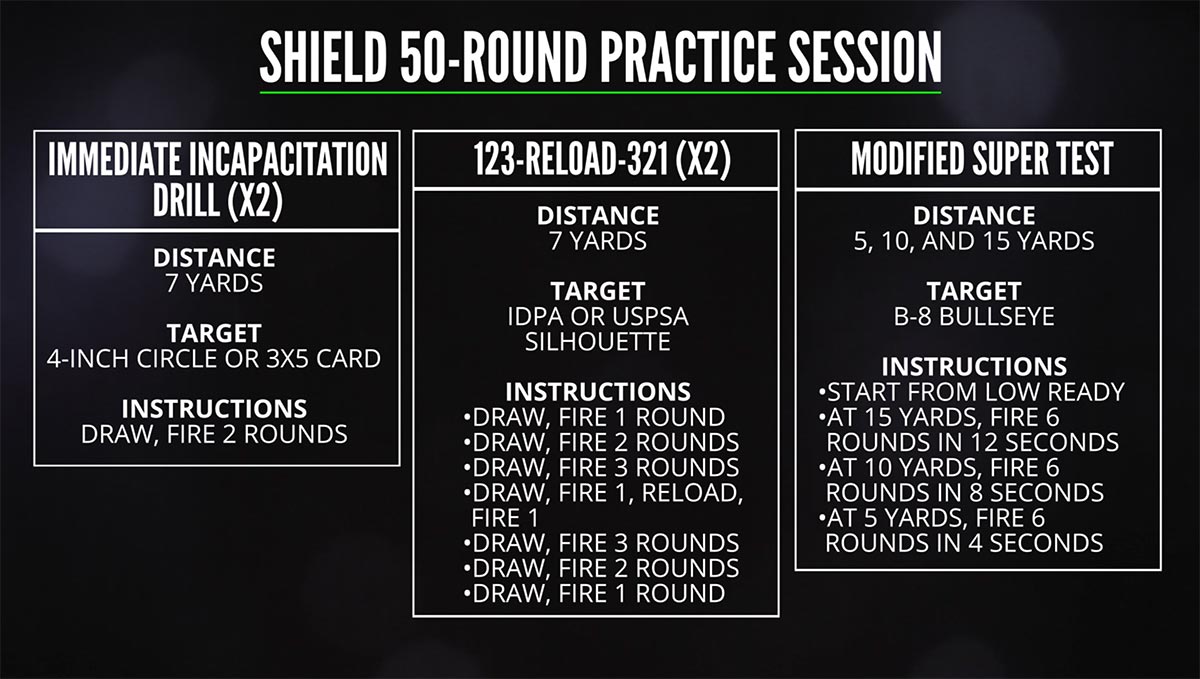
Here’s a brief overview of what that looks like. We’re going to start with the Immediate Incapacitation Drill. We’re going to do that twice. Then we’ve got another sequence of fire that I don’t have a clever name for. You might call it the 123-Reload-321. So we’re going to practice drawing and firing various numbers of rounds. Then we’re going to do that whole sequence again but we’re going to do it faster. Then we’re going to wrap up the session with a modified version of the Super Test.
Before we get started here, I am assuming that you’ve had some formal instruction in how to properly and safely draw a handgun. You don’t need to be doing this for the first time on the range at full speed with live ammo in the gun. That’s something you need to work your way up to. So I’m assuming you’ve done that before. You’re also going to need a shot timer. And you’re going to need some targets — some kind of silhouette targets. I would suggest an IDPA or USPSA cardboard target. And you’re going to need some B-8 bullseyes. You can buy those online or you can print the B8 targets out yourself.
Okay, so we’re starting off with a drill that Gabe White calls the Immediate Incapacitation Drill. We’re going to start at 7 yards and draw and fire two rounds to the head box. On this IDPA target, I’d be aiming for the little 4-inch circle in the middle. You could also use a 3×5 index card. Either way, you want a small target to work with. We’re going to do this drill two times.
I always like to start the practice session with something that’s fairly challenging and a good drill that I can time and record my time on in my range notebook so I’ve got some way to measure my progress over a period of time. So I might shoot this drill at every range session or every other range session for a period of months and it will give me an idea if I’m improving or if I’ve kind of plateaued. If you want some kind of par time to shoot for I’d say 3.5 seconds is pretty good for a small gun like this. An advanced time might be 2.5 seconds — that would be really fast. But don’t get too wrapped up with the par times. The main thing is to look at your own times and see if you’re improving.
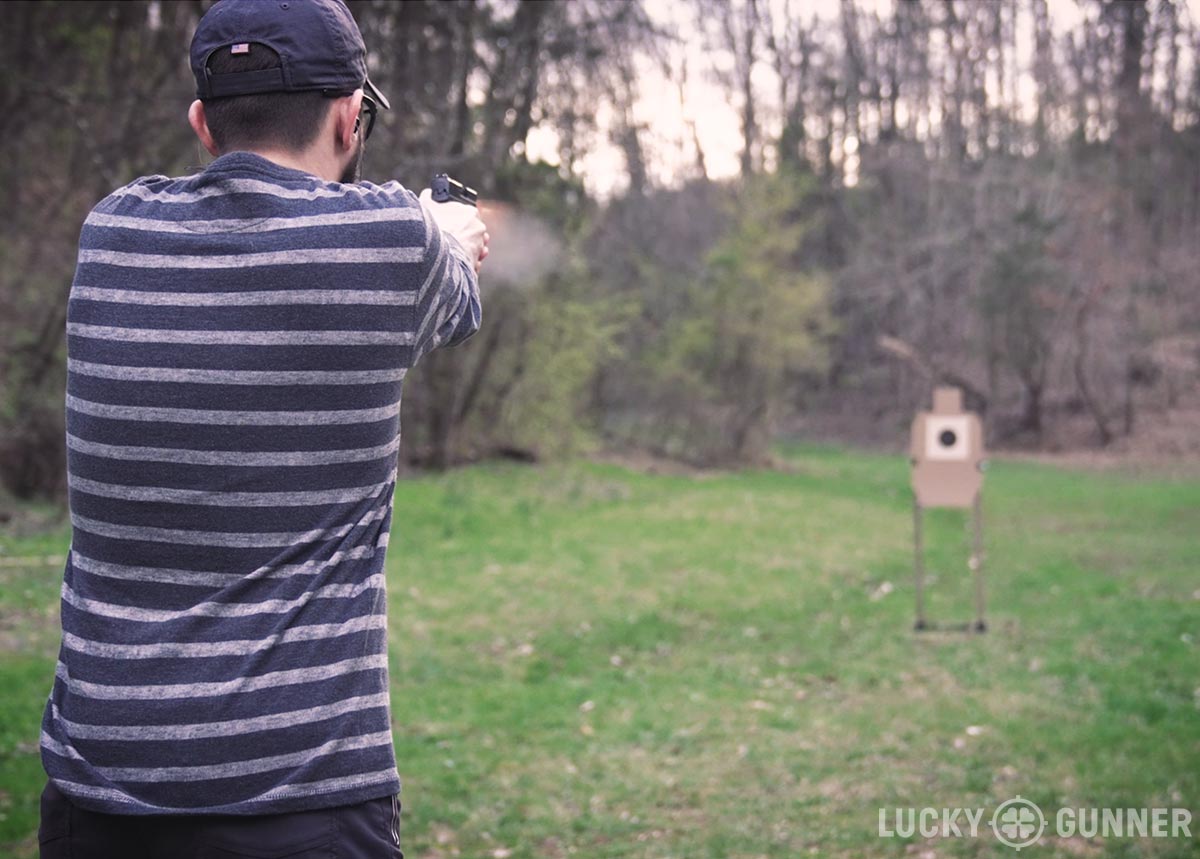
For this first sequence of shots, which is what we’re going to spend most of our time on, I want to really emphasize the drawstroke. I think that’s the most important technical skill you can have for concealed carry. If you have to use the gun, you know you’re going to have to get it out and present it to the target so you need to know how to draw the gun quickly and efficiently. Now, I know a lot of you guys shoot at ranges where you’re not allowed to work from the holster. That really stinks, but what you’re going to have to do is just work from the low ready position and then when you get home, do lots of dry practice with an empty gun and practice that drawstroke.

Either way, what we’re going to do with this first sequence is go really slowly and deliberately because when we’re working on these repetitions, we don’t want to do them incorrectly. There’s no point in building muscle memory if it’s wrong. So we want to make sure every step of the drawstroke is done correctly. We’re going to slowly and carefully — at the count of five: one one thousand, two one thousand, three one thousand, four one thousand, five one thousand, and break our shot. We’re going to draw and fire one, then draw and fire two shots, and then draw and fire three shots.
Some things to look for here: I want to make sure I’m doing a correct 4-step drawstroke. Really clear that cover garment and get it out of the way. Get a full firing grip on the gun before it comes out of the holster. Bring the hands together close to the body, not floating them out here. And I really want to make sure I keep that finger away from the trigger until the gun is pointed at the target. The Shield’s trigger is not particularly light, but it is, like most striker-fired guns, a short length of travel, so once your finger is on the trigger, it doesn’t take much for the gun to go off. You want to make sure your finger is away from the trigger until you’ve got it up here. The safety, same thing. When you get the gun on target, that’s when you want to activate the safety if your gun has one. There is a version of the Shield that doesn’t have a safety. This safety is a little tiny nub so it takes a lot of reps to get really good at deactivating this thing as you’re doing the drawstroke. Then as soon as you’re done firing, the safety goes back on when the gun comes off target.
A lot of people don’t like the safety on this. I don’t think it’s a particularly well designed part of the gun. If you’re left-handed, just forget about it. Just leave the safety off all the time. There’s no way you’re going to be able to deactivate this thing reliably. And a lot of right-handed people don’t like using it, either. The thing is, if you decide not to use it and you leave it off all the time, you’ve got to make sure you’ve got a holster that either covers this thing up or is not going to bump against it or allow something else to rub against it and accidentally activate it without you knowing it. Make sure it stays off all the time.
So at this point, you will have one round left in the gun. So you’re going to draw, fire that one round, perform an emergency reload and fire one more round. You might not have a magazine pouch, that’s fine. You can reload from your front pocket or your back pocket, whatever. Even if you don’t carry a reload with you on a regular basis, this is a good skill to know how to do. I don’t necessarily prioritize this skill — I don’t think it’s super important — but you have to reload anyway, so you should know how to do it correctly. Make sure, again, you’re doing it slowly and deliberately. Make sure your technique is flawless. We want to build reps with really good technique.
So now there are six rounds left in the gun. We’re going to go in the reverse order of last time. We’re going to draw, fire three rounds, draw fire two rounds, draw and fire one round. What we want to focus on this time is recoil control. So we’re going to go a little faster than before — not quite full speed yet. We’re going to think about controlling the gun. Really clamp down on the grip, squeeze tight from both sides, and think about follow-through. You want to see two sight pictures for every shot. You don’t want to let this gun get away from you and you want to make sure it’s not shifting around in your hand. You don’t want to have to make any adjustments in between shots. If you do, your grip is wrong and you need to figure out how to get that under control.
So with that sequence, we have gone through two 7-round magazines. So load those up again and now we’re going to repeat the whole sequence, except this time, we’re going to do it at full speed. By full speed, I mean go as fast as you can and still have a reasonable guarantee that you’re going to hit the target.
This is where you can kind of get creative and change things up a little bit and adjust the practice session to suit what you want to work on. So you could, instead of just repeating the whole sequence, you could do it all strong hand only or weak hand only. You could incorporate some movement, you could add multiple targets. Get creative and do what you want based on what skills you want to work on.
So now we’ve got 18 rounds left out of our 50-round practice session and I want to end things with the Super Test. The Super Test we did a few weeks ago in our Start Shooting Better series is one of those that’s designed with full size guns in mind. So you’re shooting at 15, 10, and 5 yards, 10-round strings of fire. Obviously, we can’t do that because the Shield doesn’t have 10-round magazines, so we’re going to shoot the revolver version of the Super Test. That’s also at 15, 10, and 5 yards, but we’re doing 6-round strings of fire. Our time limits are going to be 12 seconds at 15 yards, 8 seconds at 10 yards, and 4 seconds at 5 yards. For the standard version of the test, you can start from the low ready or you can start from the holster for the advanced version.
We’re shooting this on a B-8 bullseye target, so you’re going to score the target as its marked. That gives us a maximum possible score of 180 points. To pass the test you want to have 90% which would be 162 points.
So with just 50 rounds, we’ve covered a lot of ground. We’ve worked on drawstroke, recoil control, reloads. We’ve done precision shooting on small targets. We’ve done rapid fire on vital-zone size targets at close range and we’ve got two drills that we can record our scores on and track in our range notebook. That’s not bad for 50 rounds. So go out to the range, give it a try, and let me know how it works out for you.