
The term “flash sight picture” can be traced back to Col. Jeff Cooper and his “Modern Technique of the Pistol,” though I suspect the concept itself has been in use for much longer. It’s an aspect of practical shooting that some people seem to pick up naturally without explicitly being told about it, while others struggle to take advantage of it even after extensive coaching. I think one of the issues is that the flash sight picture is an inherently visual concept, and explaining it with words alone doesn’t really click for everyone.
The video below is my best attempt at a more visual explanation, so while I’ve provided the transcript below the embed, as usual, I would suggest watching this one if at all possible.
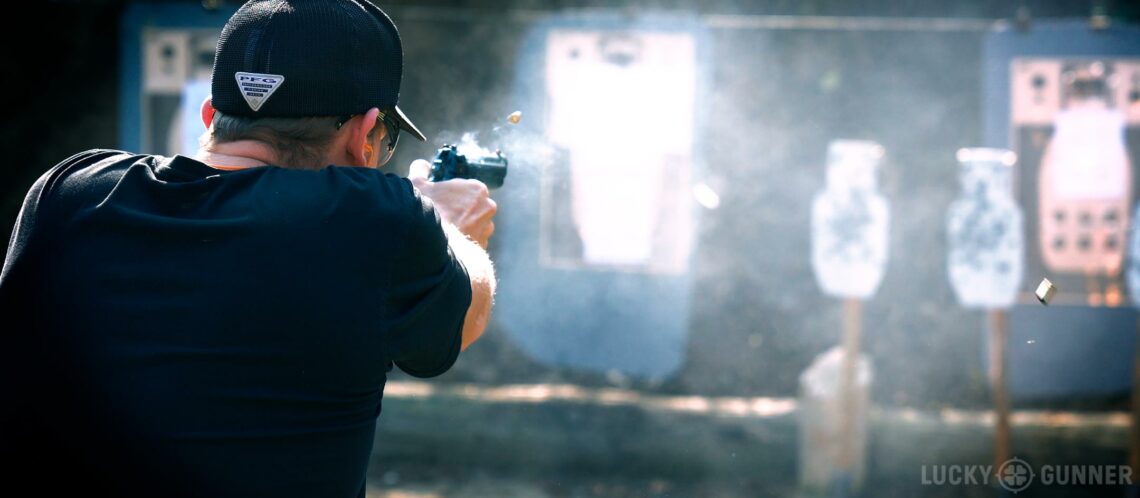
In between the extremes of carefully aimed slow fire with a textbook sight picture and indiscriminate rapid fire point shooting with no sights at all, there is the concept of the flash sight picture. Understanding the flash sight picture is what allows some handgun shooters to use the sights to get effective hits on target, even when they’re shooting very quickly. There are unsighted point shooting or hip shooting techniques that can yield similar results, but the learning curve tends to be incredibly steep, and those techniques were developed at a time when pistol sights were generally tiny little nubs you could barely see. Most handguns today have generously-proportioned sights by comparison, and by taking advantage of that fact, we can use the flash sight picture to get fast and accurate hits.
The flash sight picture is exactly what it sounds like. It’s a very quick visual impression of the sights, usually not in perfect alignment, but it gives us just enough information to confirm that the gun is pointed at the target before we press the trigger. This can be the first sight picture we see when we present the gun to the target or it can refer to the brief glimpse of the sights that we get in between shots as the gun recovers from recoil.
In the context of responding to a violent deadly threat, the flash sight picture is most useful between about 3 and 10 yards when we’ve got a wide-open target with no obstructions. Inside of 2 or 3 yards, we probably don’t need to see the sights at all to hit the target. Beyond 10 yards, we need something closer to the ideal “equal height, equal light” clean sight picture if we want to get good hits. Between 3 and 10 yards is where we can use a sight picture that’s just “good enough.” Let’s take a look at an example.
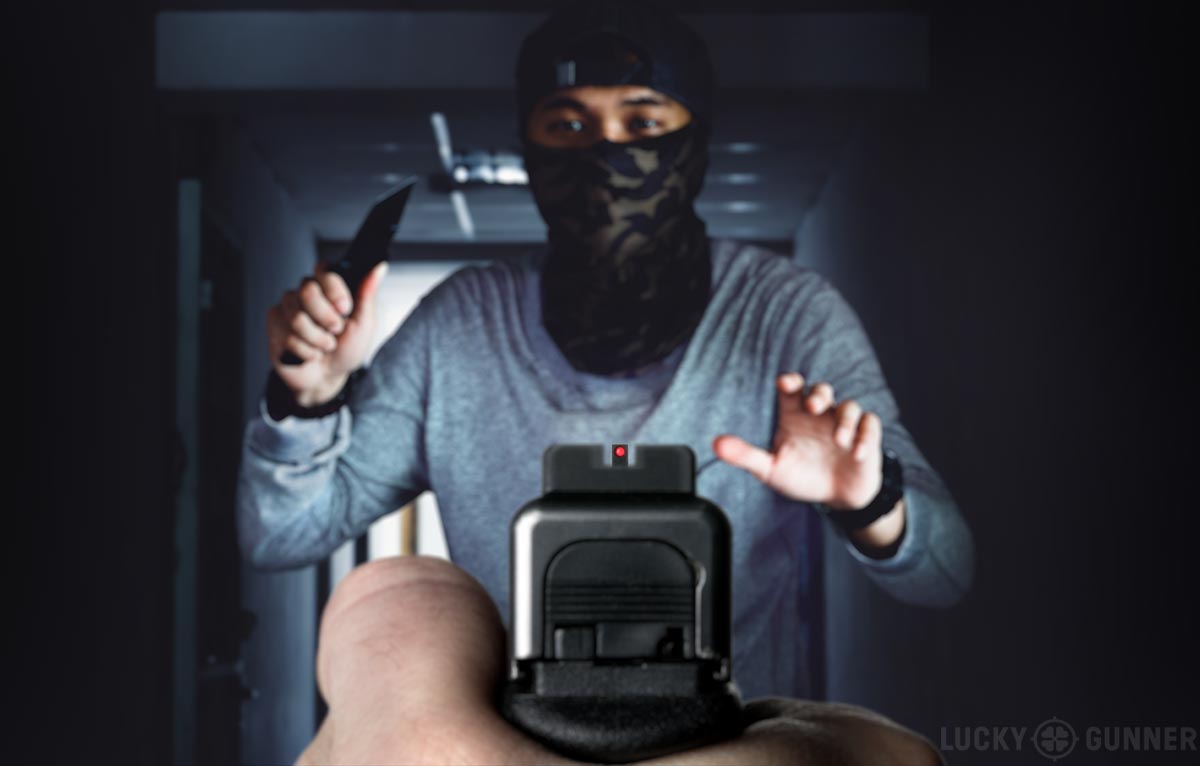
Here we have a misguided youth who appears to be entering our personal space with some kind of nasty-looking piece of cutlery. This would be an appropriate time to present our handy Glock 17, in this case, equipped with a set of Dawson fiber optic sights. In the three dimensional real world, a front sight focus will give us a slightly blurred view of the target and rear sight. So this is basically what a textbook sight picture would look like if our attacker was at 5 yards.
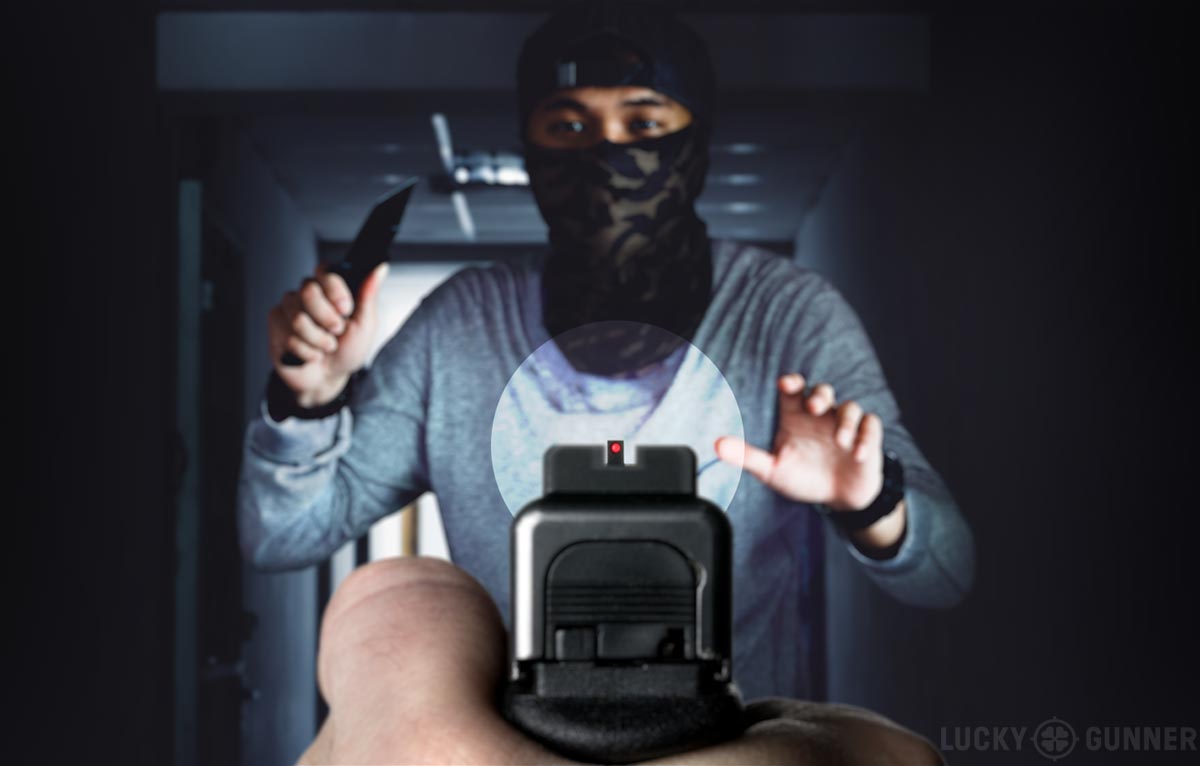
To reliably stop a human threat, we need to hit the vital organs in the upper chest, which are in a roughly circular area about 6 to 8 inches in diameter. At this distance, I don’t need a perfect sight picture to hit that target. So if I draw the gun and bring it up to eye level and the front sight is, let’s say high and off to the left a little bit, the impact will be somewhere around here, which is still an anatomically significant hit. In this situation, we don’t have time to make sure we’ve got perfect sight alignment. We just want to see the front sight somewhere in the rear sight notch so we can get a hit in that vital area.
Now, this comes with a big caveat. For the flash sight picture to be of any use at all, you have to have good trigger control. When people miss at close range, it’s not usually because of bad sight alignment, it’s more often because they’re not pressing the trigger straight to the rear. A solid grip technique is another prerequisite. The way you grip the gun is what makes the front sight return to the target after recoil. It’s what allows you to shoot fast and still control the gun. The flash sight picture is just letting you confirm that you’re still on target. So make sure you’ve got solid fundamentals first, and then you can experiment with bending the rules of sight alignment a little bit.
When you do get to that point, the hard part is understanding what “good enough” sight alignment actually looks like. What level of sloppiness can you get away with and at what distance? There’s a range exercise you can try that might give you a good idea.
Start with an 8-inch circle and draw a one-inch dot in the middle. From the 3-yard line, get a good sight picture and take your time firing 5 rounds as close to that small dot as you can. If your sights are zeroed and you have a good trigger press, you should have a nice group close to that dot. Now raise the front sight up so it’s halfway out of the rear notch and fire three rounds. Then lower the front sight so it’s halfway down inside the notch and fire three more rounds. Next, move it all the way to the left side of the notch and fire three more, and the last three shots on the right side. You should get a pattern that looks something kind of like this.
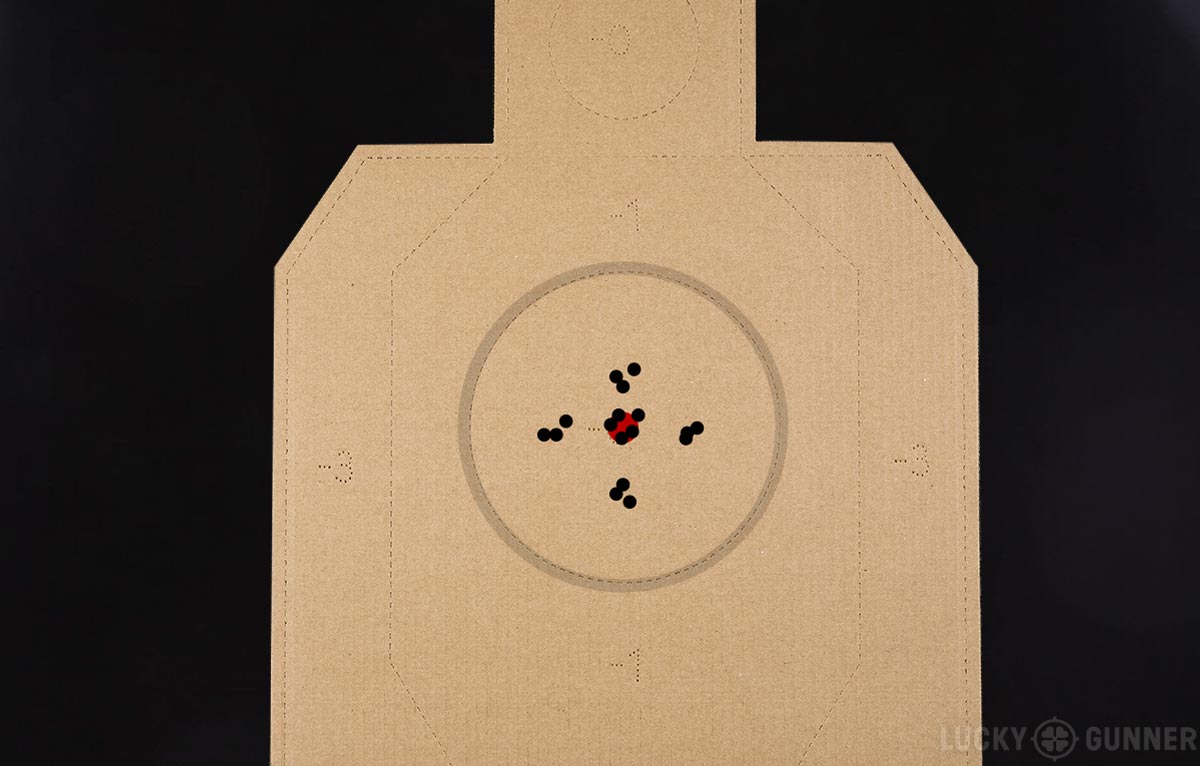
Patch up your holes, and repeat the exercise at 5, 7, and 10 yards. As you move back, you’ll see the pattern spread out. By the time you get to 10 yards, your hits will probably be at the edge of the 8-inch circle.
So as the distance to the target increases or the target size decreases, the more refined your sight picture has to be. The gun itself is another variable. The longer the sight radius — which is the distance between the front and rear sights — the more you can get away with some minor misalignment. A pocket pistol with a short sight radius requires a cleaner sight picture than a full-size service pistol.
I’ve talked to a lot of shooters in the past who believe that rapid sight acquisition is not something you can learn how to do with the limited range time and ammo budget the average shooter has to work with. They see more experienced shooters running the gun really fast and they just don’t understand how someone could possibly be seeing their sights at that speed. Fortunately, the human brain is actually really good at this kind of thing. If you’ve been practicing sighted fire with your handgun for any significant length of time, you can probably recognize a good sight picture in less than a tenth of a second. And to prove it, we can do a little exercise. This is an idea I’m borrowing with permission from a presentation by John Hearne.
[Watch this brief excerpt from the above video to see the sight picture speed exercise.]
I’m going to briefly show you a flash sight picture and I want you to try to determine the quality of the sight alignment. Okay, ready? Here it goes…
That sight picture was up for a full second, which should have been plenty of time to see that the sights were perfectly aligned right in the center of the target. Okay, here comes another one…
That was a half second, and you probably saw that the sights were a little high and to the left, but still an acceptable sight picture. Here’s another one…
That was only a quarter second, but I’m sure you saw that the front sight was slightly over to the right. Now I’m going to make a little harder. I’m taking away the target circle, and I’m blacking out our little fiber optic insert. Let’s see if you can still catch it…
Okay, still a quarter second, but even with lower contrast, it’s plenty of time to see the sights. Let’s go even quicker…
That was only .13 seconds. More than enough time to determine that there was no front sight, which means the muzzle is pointed way too low.
Now, what if you are shooting with a target focus instead of a front sight focus? Will you still be able to see a flash sight picture? Let’s try it…
Even with a target focus and blurry sights, .08 seconds was probably enough time for you to confirm that we had good sight alignment on that one. Okay, let’s try one more…
That one was only .04 seconds, and that’s pretty close to the human limit of being able to correctly identify a familiar object. So even though I put the red fiber optic back in there, you may or may not have seen it that time.
The point is that you really don’t need more than a tenth of a second to see that flash sight picture. That doesn’t mean you can shoot ten rounds a second, it means that once you’ve got the gun in your eyeline and you’re ready to press the trigger, you don’t need to stand around all day to make sure the sights look good enough to hit the target. You just need that quick visual impression and your subconscious will know if it looks right.
Good article. I’ve always assumed I knew what you meant when mentioning flash sight picture, though its nice to see it quantified.
Do you find that while rapid firing you’re using the sights more as a way to make sure that you are point shooting correctly, without really making adjustments?
Whenever I try to go fast, this is what it feels like; a “check” rather than an “aim”. When I dry fire practice I try to bring the gun out quickly and find that more often than not even if I pointed the gun on target before catching the sights with my eyes, I find that its typically pointed right where I expected. While practicing with live fire I tend to go slightly slower, making a point to try to catch the sights at the same time the gun gets to full extension. Its helpful to see how quick you act on that sight picture, I have definitely been going slower than the tenth of a second in the video.
Excellent Chris.
I did not fully understand the flash sight picture until, in the 599 (“Advanced Pistol”) at Gunsite the drill on a dark cloudy night was to draw from concealment and hit Pepper Poppers from 10 to 25 yards in the dark, without a flashlight or night sights (tritium sights were not yet available) – one only had time to ID the target and position when the instructor flashed his light in the general area for about 1/2 second – by the time the student could draw the light was off and we had to shoot were we thought the target was – that we all could hit them was sort of surprising. I tried this drill in a few advanced Rangemaster courses later and everyone could do it – though by then night sights were common so it might have been a bit easier.
I was the first to go through the drill so I was able to converse at length with Col. Cooper and he explained that once one is “grooved in” (as you say that may take a lot of effort and ammo) he did not have to actually see the front sight to “see” the front sight – I took that to mean that the experienced shooter had seen his front sight so many times that in his mind’s eye he still knew how the sights lined up in relation to his fighting platform (stance).
In any case, I would have not believed it until I actually saw it in practice.
Thanks for an excellent presentation of the concept!
Jim H.
Bravo! This is the very best visual and verbal explanation of the “flash sight picture” I’ve seen to date. Great point made regarding distance (close, near, far) versus use of sight picture (no sights, flash sight, precision sight alignment) and the need to be able use all based on distance. Nice job!
Great explanation of a very important concept. Very thorough, concise and understandable. The circle-dot drill seems like a great exercise that I plan to try tomorrow morning.
That is why I always start shooting at 25~50 yards with a handgun, then move closer…
Most people train what I call “backwards shooting”- start close and move outward, and that just never made sense to me.
If you can keep your hits inside 8″ at 25~50 yards, you can keep them in that circle at any closer distance.
Chris, that was a great vid.
I am one of those guys who has been wondering if I just see slower than other people, so the subject matter really got to me. Now, I have been wondering this even though I am a seasoned pistol shooter and longtime USPSA competitor. Guess I just have some other things to work at during practice sessions. Thanks very much for covering this topic.
good video
Chris, this was the best explanation of a flash sight picture that I’ve ever seen or heard. Thanks!